Spoil your furry friend with delicious and healthy homemade dog treats! This blog is your one-stop guide for beginners who want to embark on the rewarding journey of DIY dog treats. We’ll delve into vet-approved recipes, explore the benefits of homemade treats, and answer all your burning questions to ensure your pup gets the tastiest and healthiest snacks.
Why Go DIY with Dog Treats?
While store-bought treats offer convenience, homemade options boast several advantages:
- Know What Goes In: You control the ingredients, ensuring they’re fresh, natural, and free of artificial additives, preservatives, or fillers that may upset your dog’s stomach.
- Tailored Nutrition: Cater to your dog’s specific needs. Does your pup have allergies? No problem! Make treats with ingredients they can tolerate. Trying to boost their protein intake? Include lean meats or cooked eggs.
- Budget-Friendly: Homemade treats are often more cost-effective than store-bought ones, especially in the long run.
- Bonding Experience: Baking with your dog is a fun way to show them love and create lasting memories.
Essential Tips for Beginners
Before we dive into recipes, here are some beginner-friendly tips for DIY dog treats success:
- Consult Your Vet: Discuss any dietary restrictions or allergies your dog might have.
- Start Simple: Begin with basic recipes using few ingredients. Gradually experiment with more complex flavors and textures.
- Fresh is Best: Use fresh, high-quality ingredients for optimal taste and nutrition.
- Safety First: Avoid ingredients toxic to dogs, like grapes, raisins, onions, and chocolate.
- The Power of Portion Control: Even homemade treats are treats! Limit the quantity you give your dog to avoid weight gain.
- Storage Solutions: Store leftover treats in an airtight container in the refrigerator for up to a week or freeze them for longer storage.
Vet-Approved DIY Dog Treat Recipes
Now, let’s get baking! Here are three vet-approved recipes perfect for beginners:
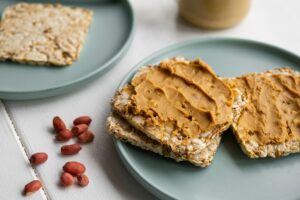
1. Simple Peanut Butter Banana Bites (3-Ingredient Wonder!)
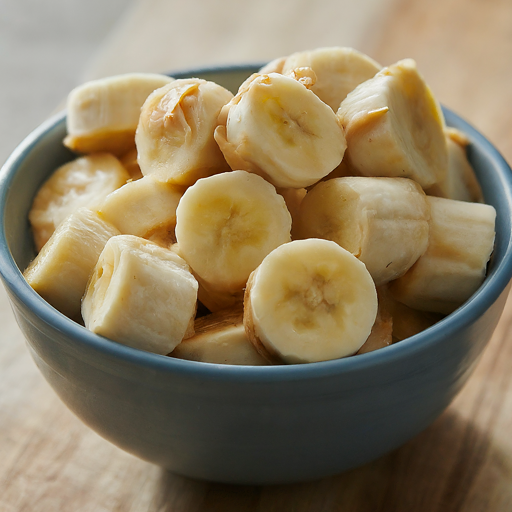
These bite-sized treats are a winner for their simplicity and taste.
- Ingredients:
- 1 ripe banana, mashed
- ½ cup creamy peanut butter (ensure it’s xylitol-free)
- 1 ½ cups whole wheat flour
- Instructions:
- Preheat oven to 350°F (175°C). Line a baking sheet with parchment paper.
- In a large bowl, combine mashed banana and peanut butter. Mix well.
- Gradually add flour until a dough forms. Knead on a lightly floured surface until smooth.
- Roll out the dough to a ¼-inch thickness. Use cookie cutters (optional) to create fun shapes.
- Place treats on the prepared baking sheet and bake for 15-20 minutes, or until golden brown.
- Let cool completely before serving to your dog.
2. Chewy Pumpkin Spice Treats (Perfect for Fall!)
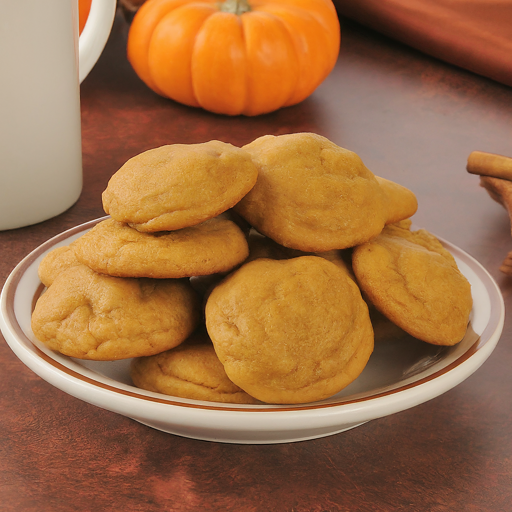
These pumpkin-infused treats are a seasonal delight packed with fiber and vitamin A.
- Ingredients:
- 1 cup cooked pumpkin puree
- 1 ½ cups rolled oats
- ½ cup whole wheat flour
- 1 tsp ground cinnamon
- ½ tsp ground ginger
- ¼ tsp ground nutmeg
- 1 large egg, beaten
- Instructions:
- Preheat oven to 350°F (175°C). Line a baking sheet with parchment paper.
- In a large bowl, combine pumpkin puree, rolled oats, flour, spices, and egg. Mix well.
- Drop tablespoons of dough onto the prepared baking sheet, leaving space for spreading.
- Bake for 15-20 minutes, or until edges are firm.
- Let cool completely before serving to your dog.
3. Dehydrated Sweet Potato Fries (Healthy & Crunchy

These crunchy treats are a healthier alternative to store-bought potato chips for dogs.
- Ingredients:
- 2 large sweet potatoes, peeled and thinly sliced
- Instructions:
- Preheat oven to its lowest setting (around 170°F/75°C). Line baking sheets with parchment paper.
- Arrange sweet potato slices in a single layer on the preparedI
These refreshing treats are perfect for hot summer days.
- Ingredients:
- 1 cup plain, unsweetened Greek yogurt
- 1 large apple, cored and diced
- Instructions:
- In a medium bowl, combine Greek yogurt and diced apples. Mix well.
- Spoon the mixture into silicone molds or ice cube trays.
- Freeze for at least 4 hours, or until solid.
- Let thaw slightly before serving to your dog.
Remember:
- Adjust portion sizes based on your dog’s breed and activity level.
- Monitor your dog after introducing new treats, watching for any allergic reactions.
- Most importantly, have fun and enjoy creating delicious and nutritious treats for your furry best friend!
Conclusion
With a little planning and these vet-approved recipes, you can embark on a rewarding journey of DIY dog treats. Not only will your pup love these tasty snacks, but you’ll also gain peace of mind knowing exactly what goes into their treats. So, grab your apron, preheat the oven, and get ready to spoil your dog with homemade goodness!
By following these tips and using the provided recipes, you can create a valuable and informative blog post that ranks well in search engines and attracts dog owners looking for healthy and delicious homemade treat options for their furry companions. You can follow Truffle Paws for more information.