We all love spoiling our furry companions with delicious homemade treats. But after all that effort of baking and creating scrumptious snacks, the question arises: how to store homemade dog treats to ensure they stay fresh, safe, and irresistible for your pup?
This blog delves into the world of storing homemade dog treats, offering valuable tips and techniques to keep those yummy creations at their best. By following these guidelines, you can ensure your pup enjoys fresh and delicious treats for days or even weeks to come!
Why Proper Storage Matters for Homemade Dog Treats?
Unlike commercially produced treats with preservatives, homemade options lack these additives, making proper storage even more crucial. Here’s why storing your homemade dog treats correctly matters:
- Freshness & Flavor: Proper storage helps maintain the freshness and desirable flavor of your homemade treats, ensuring your pup enjoys them at their best. Think about the difference between a crisp, flavorful cookie and one that’s become stale and lost its appeal – the same goes for dog treats!
- Prevent Spoilage: Improper storage can lead to mold growth or bacterial contamination, posing a health risk to your dog. You wouldn’t want your pup to get sick from a snack that was meant to be a delightful treat.
- Maintain Texture: The right storage methods prevent treats from drying out or becoming stale, ensuring they retain their intended texture. A chewy treat should stay chewy, and a crunchy treat should stay crunchy!
Factors Affecting Shelf Life of Homemade Dog Treats:
The shelf life of your homemade dog treats depends on several factors:
- Ingredients: Treats made with perishable ingredients like fruits or vegetables will have a shorter shelf life compared to those made with dry ingredients like flour or oats. Just like any food product, fresh ingredients have a limited window of peak freshness.
- Moisture Content: Moisture content plays a significant role. Treats with higher moisture content, like those containing pumpkin puree or mashed banana, will spoil faster than drier options like baked apple slices or dehydrated sweet potato chews.
- Storage Method: The way you store your treats significantly impacts their shelf life. Airtight containers and cool environments promote longevity, while leaving treats exposed on the counter at room temperature is a recipe for faster spoilage.
Essential Tips for Storing Homemade Dog Treats:
Here are some essential tips for storing homemade dog treats and keeping them fresh and safe for your pup:
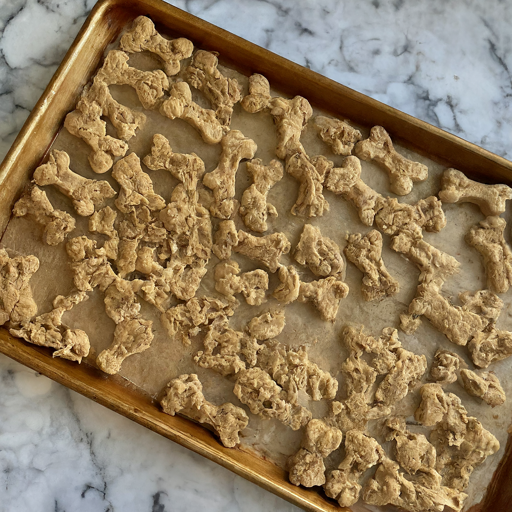
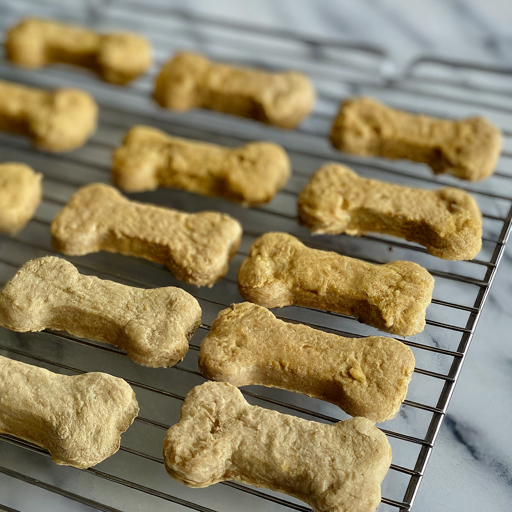
- Cool Completely Before Storing: Allow your treats to cool completely at room temperature before storing them. This prevents condensation from forming within the container, which can lead to mold growth. Think of it like letting freshly baked cookies cool before storing them in a tin – the same principle applies to dog treats!
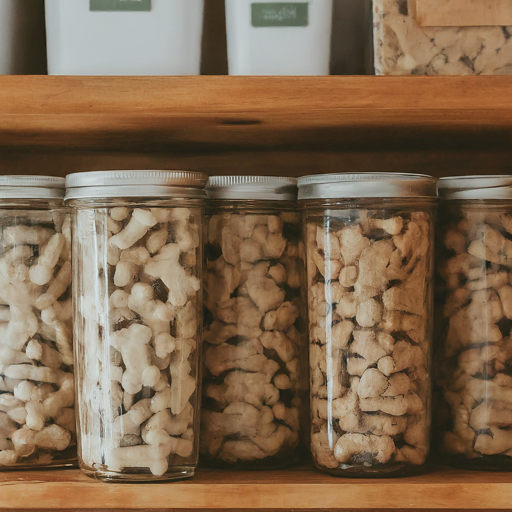
- Choose the Right Container: Opt for airtight containers made from food-grade materials like glass, ceramic, or stainless steel. These containers prevent moisture loss, exposure to air, and potential contamination from dust, insects, or other environmental factors.
- Label & Date: Label your containers with the treat name and date of preparation. This helps you keep track of freshness and prioritize older treats first. Imagine reaching for a treat you baked a week ago versus one that’s been sitting out for a month – labeling ensures you offer your pup the freshest options first.
- Consider Refrigeration: For treats with higher moisture content or perishable ingredients like fruits or vegetables, store them in the refrigerator. This can extend their shelf life for up to a week. Refrigeration slows down bacterial growth, keeping your treats safe and delicious for a longer period.
- Freezing for Long-Term Storage: If you’ve baked a large batch of treats, freezing is a great option for long-term storage. Frozen homemade dog treats can last for several months. However, be mindful that freezing can sometimes affect the texture of the treats, making them a bit crumblier upon thawing.
Additional Tips for Maintaining Freshness:
Here are some additional tips to further ensure the freshness of your homemade dog treats:
- Store Away from Direct Sunlight: Heat and sunlight can accelerate spoilage. Store your treats in a cool, dark, and dry place. Just like you wouldn’t store chocolate in direct sunlight, keeping your homemade treats out of the sun’s rays helps them stay fresh longer.
- Separate from Strong Odors: Strong odors can transfer to your treats. Avoid storing them near spices, coffee, or cleaning products. Imagine your pup’s favorite treats taking on the aroma of powerful cleaning supplies – not exactly an appetizing prospect!
- Discard Moldy Treats: Inspect your treats regularly and discard any that show signs of mold growth. Do not attempt to cut away the moldy section and offer the remaining treat to your dog. Mold spores can spread quickly, and ingesting mold can be harmful to your furry friend. When in doubt, throw it out!
Reheating & Thawing Frozen Treats:
Here’s how to safely thaw and reheat frozen homemade dog treats:
- Thawing: The best way to thaw frozen treats is to transfer them from the freezer to the refrigerator several hours before you plan to offer them to your dog. This allows for gradual thawing and helps maintain the texture.
- Reheating (Optional): Reheating is not always necessary. However, if you prefer to offer your dog a slightly warmed treat, microwave on low power for a few seconds at a time, checking frequently to avoid overheating.
Shelf Life Guidelines for Homemade Dog Treats:
Here’s a general guideline for the shelf life of homemade dog treats based on storage methods:
- Room Temperature Storage: 1-2 days (best for dry treats like baked apple slices or dehydrated sweet potato chews).
- Refrigerator Storage: Up to 1 week (best for treats with higher moisture content or perishable ingredients).
- Frozen Storage: Several months (may affect texture slightly upon thawing).
Remember, these are general guidelines. Always prioritize using older treats first and discard any that show signs of spoilage or have exceeded their recommended storage time.
Creative Uses for Leftover Treats:
If you have leftover homemade treats that are nearing the end of their shelf life, here are some creative ways to repurpose them:
- Crumble them up and sprinkle over your dog’s regular kibble for added flavor and texture.
- Soften them slightly with a little water and use them as a spreadable treat for puzzle toys or Kong toys.
- Grind them into a powder and use them as a topping for your dog’s food.
- Bake them into pupcakes or pupcakesicles for a fun and festive treat (ensure the cupcake liners are dog-safe).

Conclusion:
By following these tips and techniques for storing homemade vet-approved dog treats, you can ensure your furry friend enjoys fresh, safe, and delicious snacks for days or even weeks to come. Remember, proper storage practices not only maintain the quality and freshness of your creations but also prioritize your dog’s health and well-being.
So, unleash your inner baker, create those scrumptious treats, and store them with confidence, knowing your pup can savor them to the fullest!
At Truffle Paws, we’re here to simplify this process for you. Our goal is to select the best insurance plan for your dog that keeps your dog healthy and ensures you’re ready for the financial responsibilities. Let’s connect today and protect your dog.